Showing posts with label workspace. Show all posts

Wednesday, September 12, 2012

Workspace progress!!

Happy Wednesday to you!!  It's been awhile since I posted an update on my workspace area. This room is almost done and I am really excited!!

BEFORE


I have this table- it's actually our very first dinning table. It works good as a crafting table, 
but I wanted to spruce it up a bit. 


So I painted the table top with chalkboard paint. Now I can write measurements, ideas, etc on it as I am doing a project. With some fabric left over from a previous project I attached it around the bottom of the table. This allows me to store things under there that I don't use everyday (like my sewing machine).  It stays out of the way, but still close by. 


The green container on the desk is a place for me to keep projects that I am currently working on. So I used my Silhouette and labeled it Projects. It is amazing to me how easy it is to use!


Here is how it turned out after labeling!  


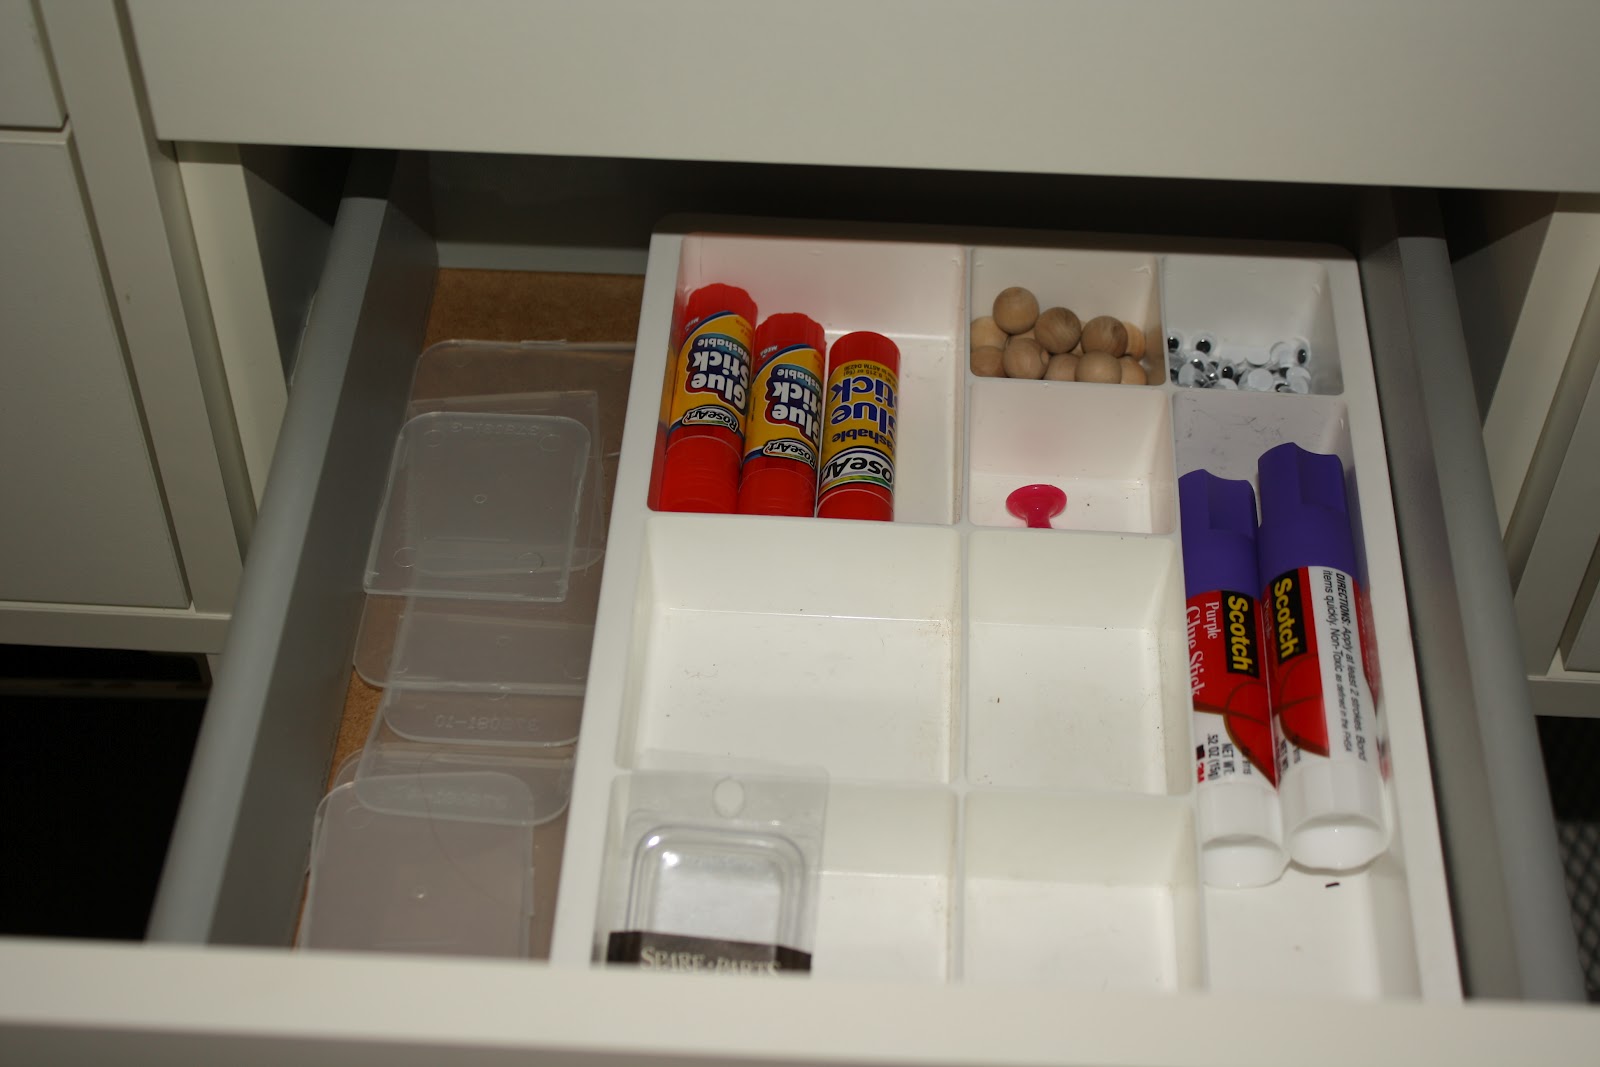
So this little area came together quite nice. I have a good space to work on projects as well as storage for scrapbook paper, crafting supplies and pictures.


 After


Here it is side by side so you can see the difference!!!
                       
It's exciting to be getting things done and progress made around the house. I am happy to have an area to work on my projects :)
Thanks for stopping by today!!
Faith


Tuesday, June 26, 2012

Workspace progress...

My workspace/laundry room/office is still a work in progress but I thought I would share how it's coming along... It has turned into one of those projects that has a domino effect- ever have one like that? So it's forcing me (which is a good thing) to work on several areas that need help in my house. Anyways- definitely not a "finished" product, but it's getting there!!


Here is the shelving unit, click here to see the last update-

Starting at the top right hand side I put manuals, crafty or DIY magazines 
that I want to keep, reference books on sewing, crafting, etc

 The first 2 boxes- I have them labeled, but it's hard to see in the picture. The first one is computer stuff- this is hiding the modem & some other computer things that I don't even know what they are, but I know we need them!  Next box is labeled craft project. That is for current projects that I am not finished with and am currently working on. 

Just cause I love daisies :)


Next is the line of drawers- I don't have them all filled up yet- if you can believe it!!  But I will go be each one. I am also trying to think of a fun way to label each drawer, so if anyone has any ideas, I'd love to hear them...

Sharp things- my small trimmer and scissors for crafting & sewing


Ribbon- loose ribbon and ones that wouldn't fit on my ribbon holder

Glue gun, tape, paint brush for craft projects, etc

Miscellaneous crafting stuff


This drawer has fabric in it


This space I put some magazine holders that I already had, turned them around and labeled, it also has my folder that has our family pictures...


The next space I have a basket in, but haven't decided what to put in it yet, the next space is the box labeled gifts- which has gifts that I have bought or made for people ahead of time


On the bottom left hand side has scrapbooks that I am working on- obviously I am behind on those :), then the next space has a file folder with scrapbook stickers


Then I just put in my sign that says "Who are these kids & why are they calling me mom?" because it makes me laugh & then the last space is empty!


On the top, so far I have my sewing box & markers & pens for scrapbooking


So that's what I've done so far with it!  Any ideas on things to put in different places or I am really looking for a fun way to label the drawers- let me know I would love to hear your ideas!!!
Thanks for stopping by today!!  Hope to hear from you soon :)

Monday, June 18, 2012

Workspace Olioboard

Happy Monday to you!  I hope you all had a great Father's Day weekend!

One of my very favorite blogs had a tutorial on olioboard. If you haven't heard of olioboard, it is a website you can go and make a design plan of rooms. It is awesome!  First off I will link you to this blog because  if you look around the blog- & I highly recommend doing so!- it is absolutely amazing and inspiring,  secondly, I will link you to the tutorial- it is way helpful if creating an olioboard is something that you are interested in doing.
 Here is a link to the main page of the blog http://iheartorganizing.blogspot.com/
Here is the link to the tutorial on olioboard http://iheartorganizing.blogspot.com/2012/06/sweet-and-simple-style-tile-tutorial.html

And now here is the olioboard that I made for my current workspace that I am in the process of working on!


I was able to "pin" the actual furniture pieces right onto the board it is absolutely so much fun!!! I went to the Ikea website and found the furniture pieces that I had bought. I love that you can easily put items up, take them down if they don't work, move them around- and it is a perfect visual of what the room will represent!
Has anyone else used olioboard? What do you think- Isn't it exciting!!
Thanks again for stopping by!  Talk to you soon :)

Wednesday, June 13, 2012

Workspace progress

Hello!  This summer is just flying by!  In my home I have been working on my workspace area- this is the room in our home that we use for laundry, craft/scrapbooking, & office- this one room has a lot of uses!  My before pictures are from when we bought our house from the home inspection. So not our things in the before- but it gives an idea of what the space looked like.  

Where I put up my gift wrapping station  last week is the small wall where there was a book shelf facing toward the treadmill. Over where the refrigerator/freezer was in this picture is where we put the shelving unit in the next picture. So here is the BEFORE.


and here is the next stage- first off we changed the wall color!  The color is called Organic Garden and I love the life it brings to the space! I wanted something bright and lively for a room with so many purposes :) This is Expedit Shelving Unit from Ikea! As you see in this picture there is a little basket we have been keeping our modem, and computer stuff. We are wireless in our home, but it has been hard to find a way to house all that stuff. 


Here is all of it- not pretty is it? So I thought about what to do with it...


My solution is to hide it!  Here is my progress I have made on my shelving unit!  The computer "stuff" has all been put in the Kassett Box on the top left. There are openings in the front and back- so the back opening gave me a perfect place to pull the cords through!  The second row we installed drawers. I am in the process of taking my not so organized piles of craft supplies, office stuff, etc & finding spots for them. Once I get this shelving area complete, I will take you through each drawer & box :)


 This room is a huge project & will take me a while, but I am super excited to be working on it now! So I will post progress along the way!  I can't wait to show you the complete after!   I would love to hear projects you are working on or ideas that you have!   Thanks so much for stopping by today!